2.4 KiB
Take a test drive
Netlify CMS can run in any frontend web environment, but the quickest way to try it out is by running it on a pre-configured starter site with Netlify. Our example here is the Kaldi coffee company template. Use the button below to build and deploy your own copy of the repository:
After clicking that button, you’ll authenticate with GitHub and choose a repository name. Netlify will then automatically create a repository in your GitHub account with a copy of the files from the template. Next, it will build and deploy the new site on Netlify, bringing you to the site dashboard when the build is complete. Next, you’ll need to set up Netlify's Identity service to authorize users to log in to the CMS.
Adding users
-
From the Netlify site dashboard, select the Identity tab, and you'll find that there are no users yet. By default, this site is set to accept users by invitation only, and even the site owner needs to be invited.
-
Select Invite users, enter your email address, and select Send.
-
Check your email for the invitation. It will be sent from
no-reply@netlify.com. -
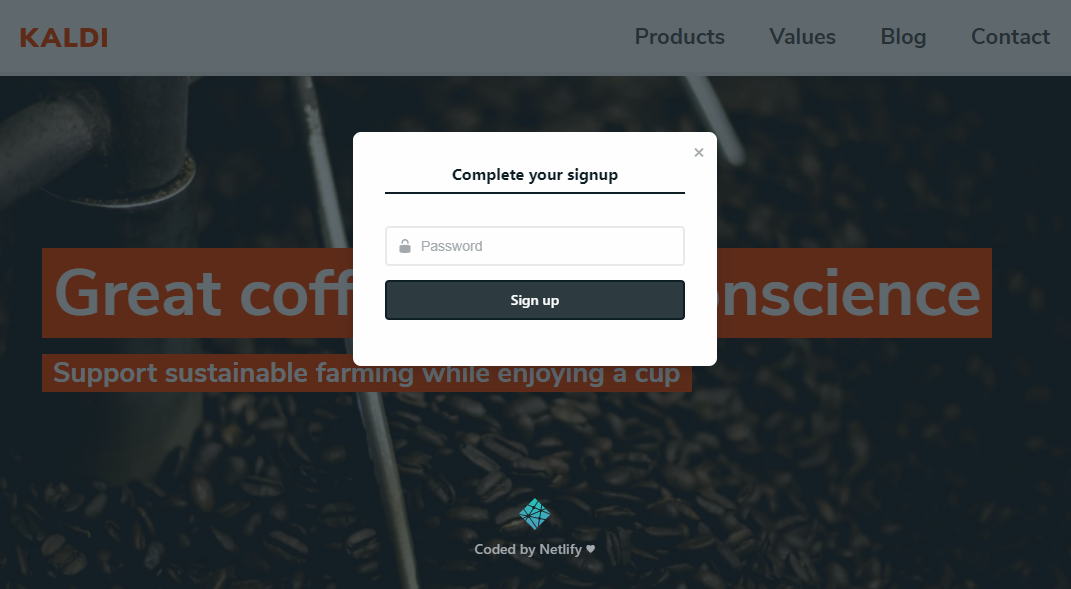
Click the link to accept the invite, and you’ll be directed to your new site, with a prompt to create a password.
-
Enter a password, sign in, and you’ll be directed straight to the CMS!
Try adding and editing posts, or changing the content of the Products page. When you save, the changes will be pushed immediately to GitHub, triggering a build on Netlify, and updating the content on your site.
More paths to explore
- If you’d like to learn more about how it all works, check out the Intro.
- To see how to integrate Netlify CMS into an existing project, go to the Quick Start.
- If you’d like to change how users log in to your site, read up on Netlify Identity service.


